Car Commercial – 6 – Wandering Points
November 2, 2017
So one of the things I have been wanting to change for a while is to add animation to the ground connection points and to basically just rehaul that system.
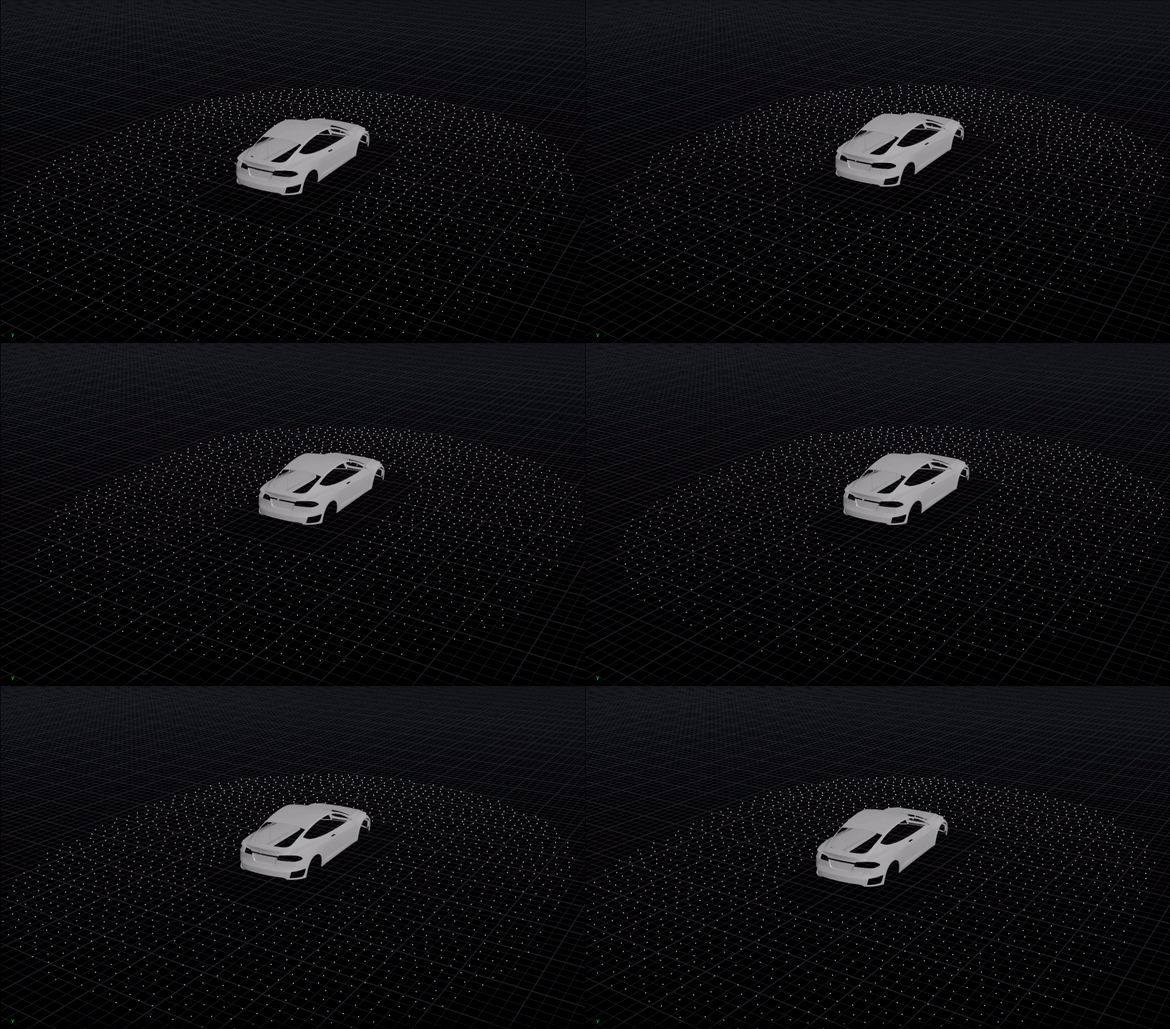
Currently I have to scatter a ton of points onto a grid and use some attribute transfers to select this range of points and delete the extra. In doing so we get points that are static on the ground that don’t move and automatically update as the car moves. This is cool and all and in itself is a good system, however the points are completely static and I want to see them move a bit. I could run them through a bit of noise and I might go back to that idea depending on if I can actually fully implement my system.
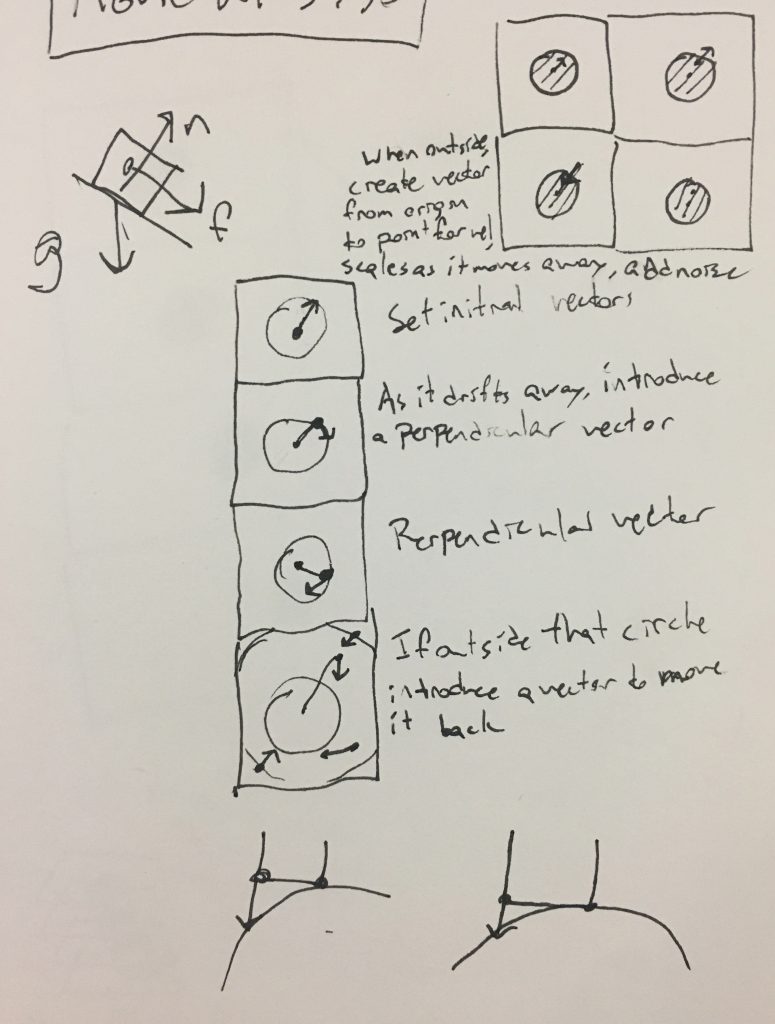
Some initial drawings and ideas in my notebook. The idea is to set a point moving and when it gets outside a certain range start setting its velocity towards the center. I also have some initial ideas for snapping points to the surface of a mesh, but that’s for later.
We want 2 circles that change our ranges of effects, so as the point starts to stray from its original center, it will eventually get pushed back.
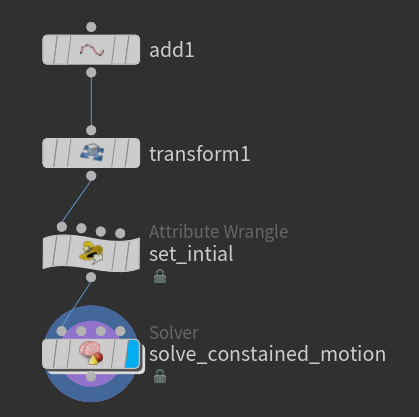
I start with a single point, set some initial attributes, and a solver for the motion.
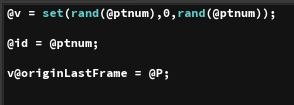
Just set an initial velocity, some id attributes in case we use multiple points that are shifting point numbers, and the ‘originLastFrame’ attr which I will get into.
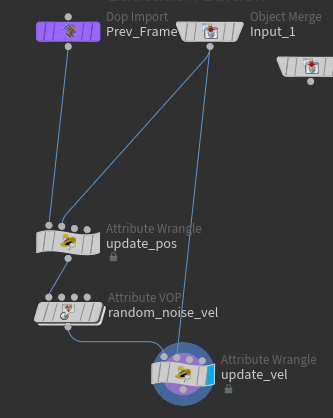
Inside the solver is pretty straight forward. Update the position, add some random velocity, then update the velocity for the next frame.

Just add out velocity vector to our position to translate it out.

Get some noise offset by time. Take out that pesky Y value because we want our point sticking to the floor.
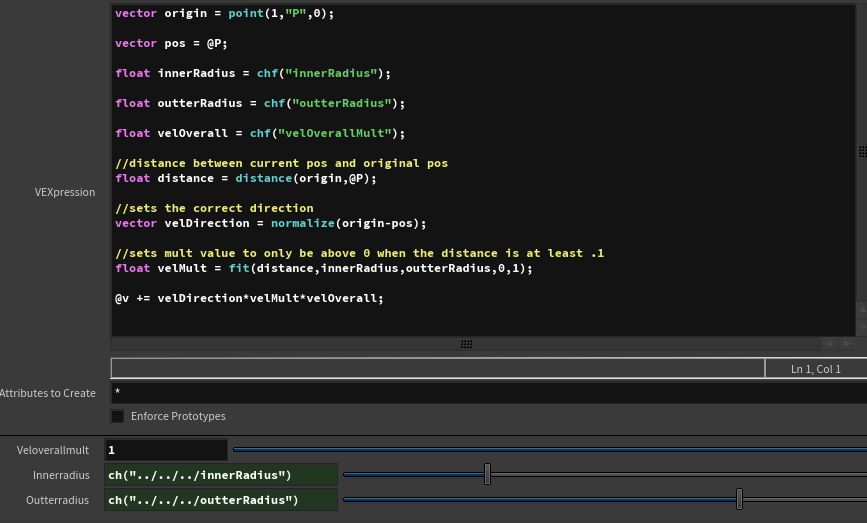
This is where the magic happens. Grab the position of the original center and the point currently. Test the distance and normalize a vector that points to the points original center. We then fit the distance from 0-1 between the inner and outer radius of the range of effect. This fit makes it so when its within the inner radius the vector has no effect, but as it is between the two we get a perfect gradient from 0-1. When we are past the outer radius we get a constant 1. No if statements or comparisons makes this nice and easy.
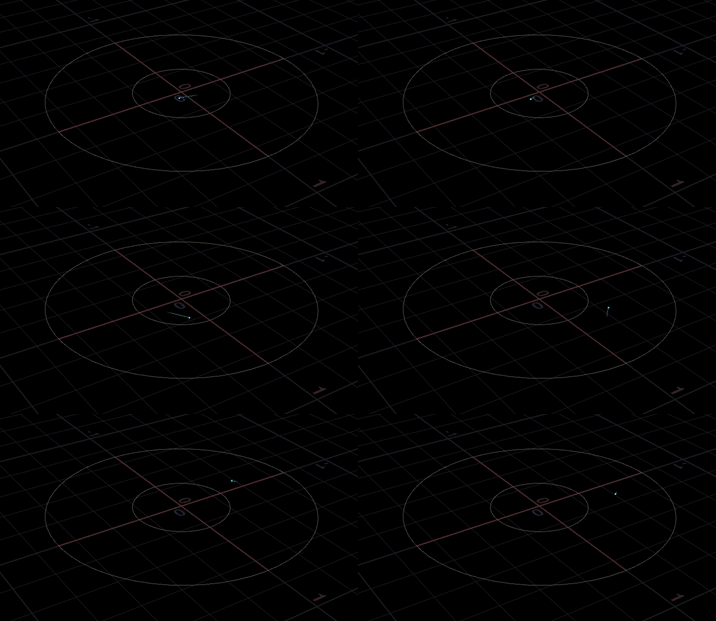
This creates an awesome little wandering point in our ranges! Looks awesome. But this is just a static point, what if we want to translate it around?
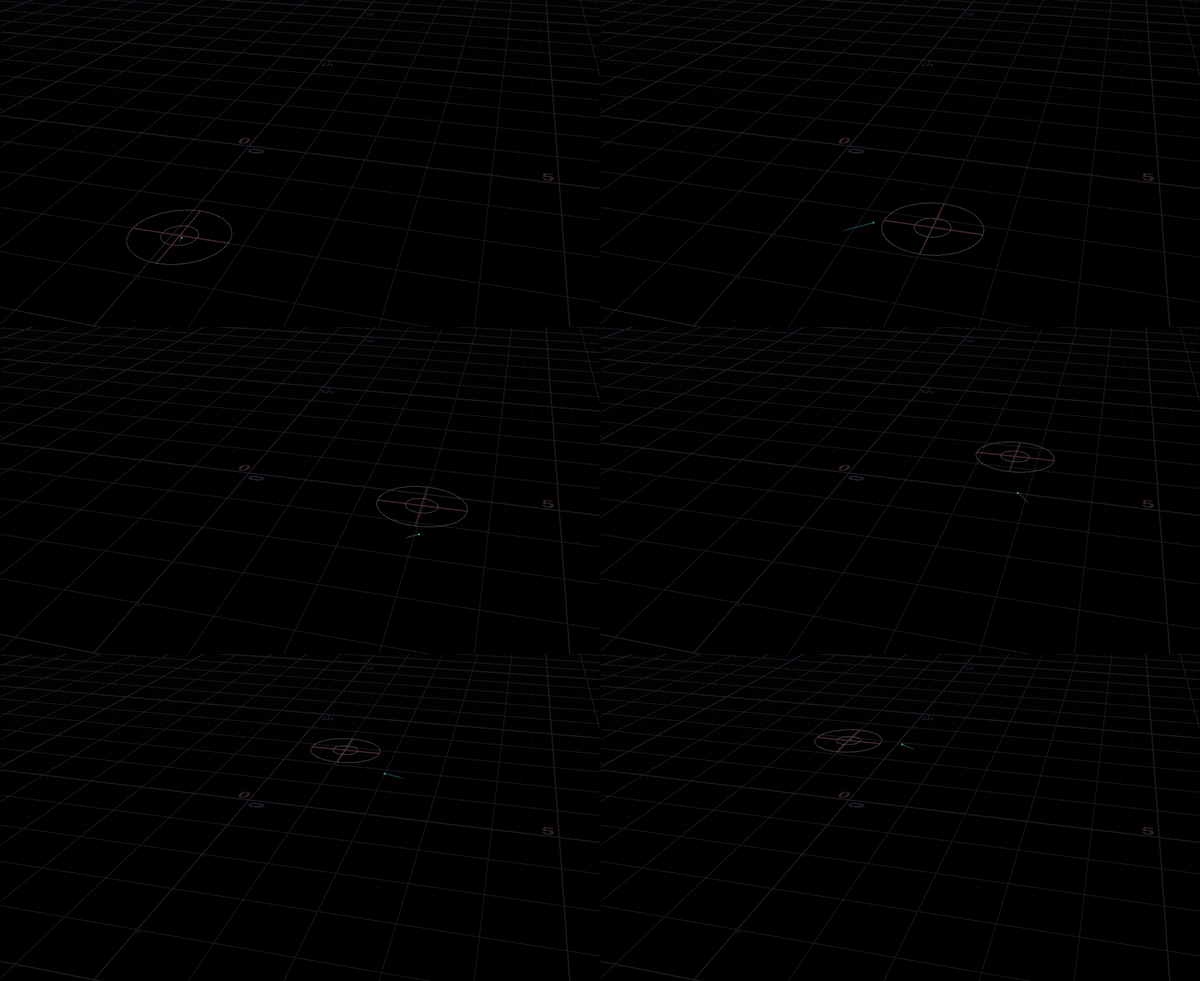
When we actually translate the original point we get the simmed point lazily chasing behind. I suppose we could leave this or update the velocity enough to follow behind, but that might become unstable quickly.
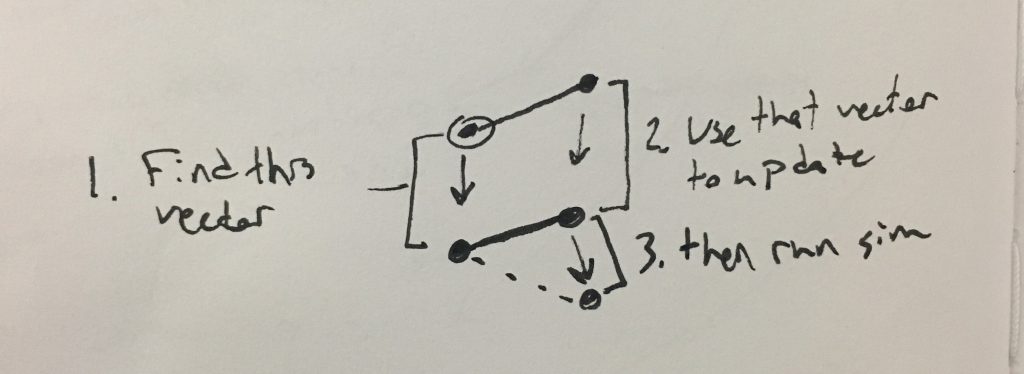
Please ignore my poor handwriting. More notes because I love drawing problems out visually. Its just so hard to visualize vectors in my mind sometimes, I just have to draw them out and it all makes sense. So first we get the vector of change of the point center. We then add this exact same vector to the simmed point to update its position. After this we apply our velocity and update the velocity for the next frame.
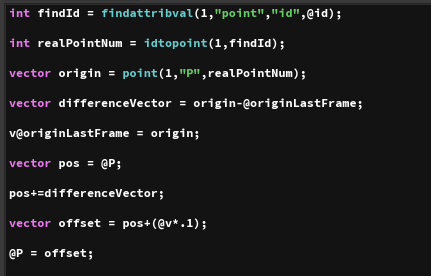
This is the changed pos_update point wrangle code. We find the point number based on ID. I’m doing this in case I run into point num problems on a larger system (I have learned my lesson from my last solver). Grab the updated original point position and take that from the previous frames original point position attribute. This gives the difference the original point has traveled. We then store the new position of the origin in @originLastFrame so that it can be used for the next frame. We grab out current position and add our difference vector to get it to the correct place. Update our velocity just as we did before and we are good.
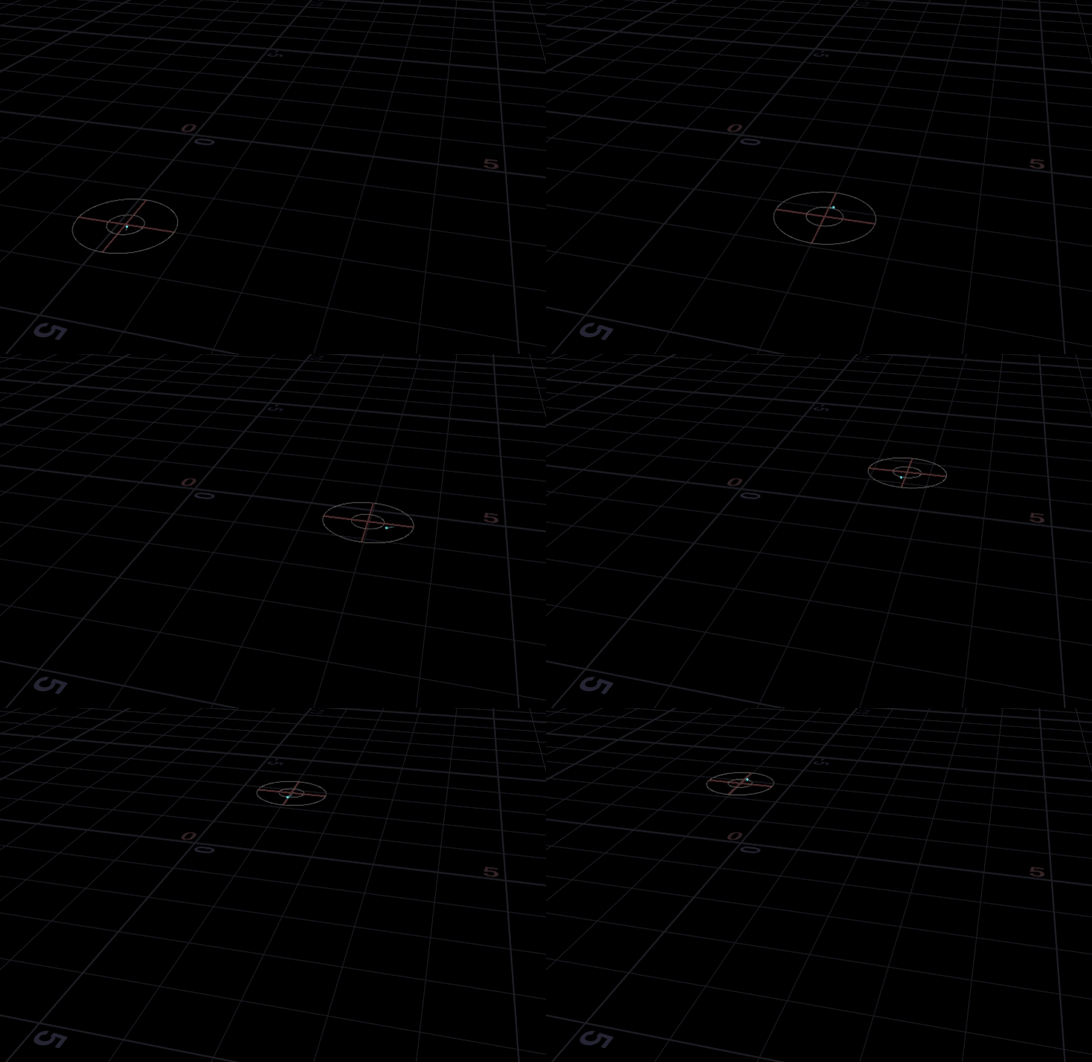
Looking much better! The point then moves relatively to its original position. In doing so we can take this system and apply it to a bunch of translated points and get some random animations. Using this for the ground sourcing will have our lightning moving around a bit on the ground! I will have to change some things in the sourcing solver, mainly I will have to update the position of all the ground points, I’m only updating the position of the starting points currently. Integrating it might be a little more tough then I expect, but I think its worth the time.
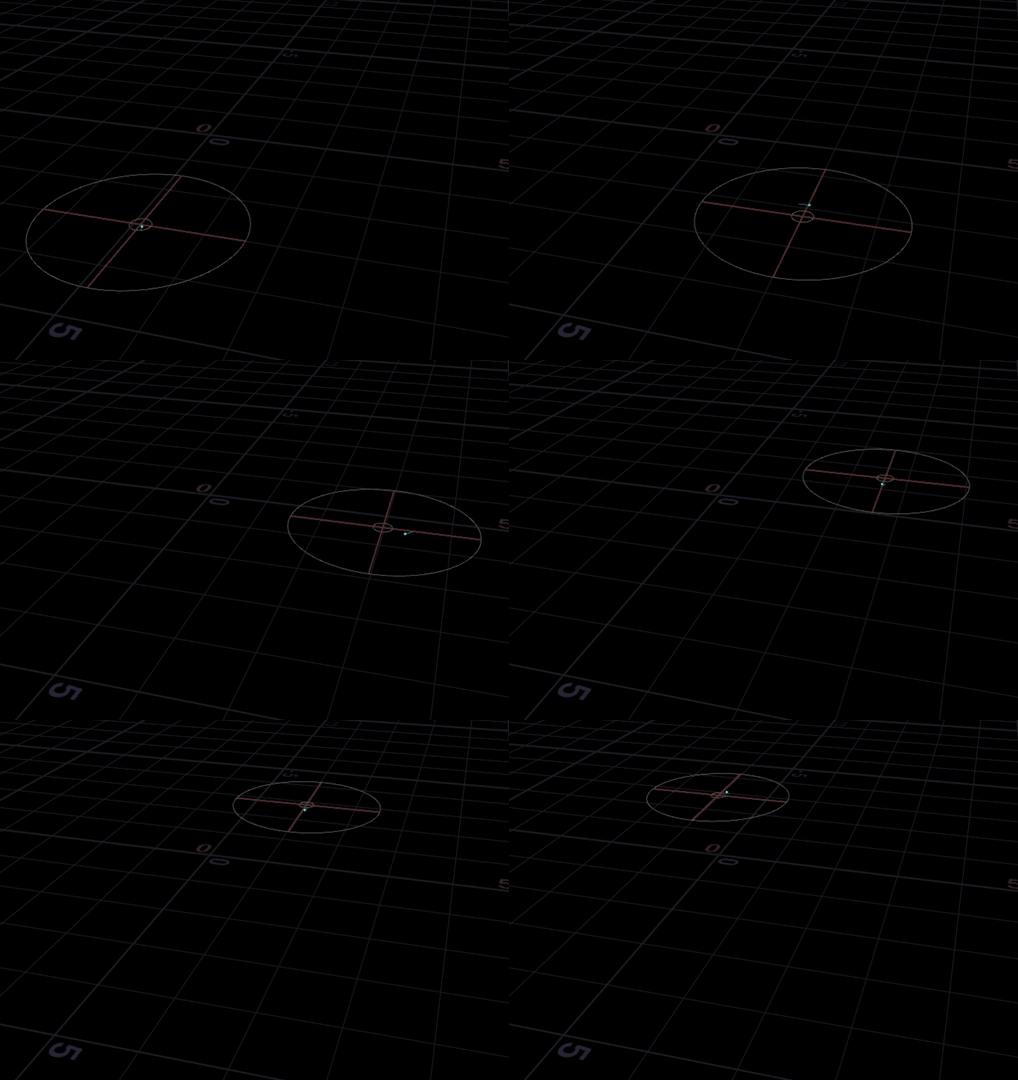
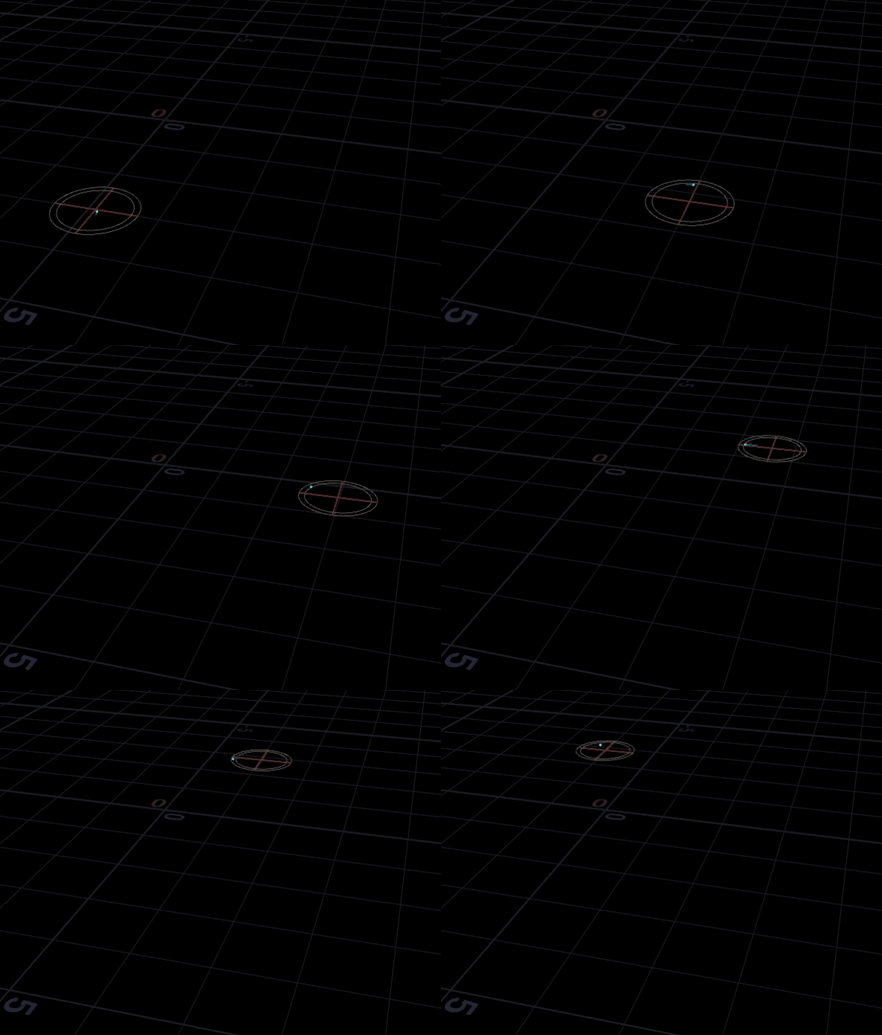
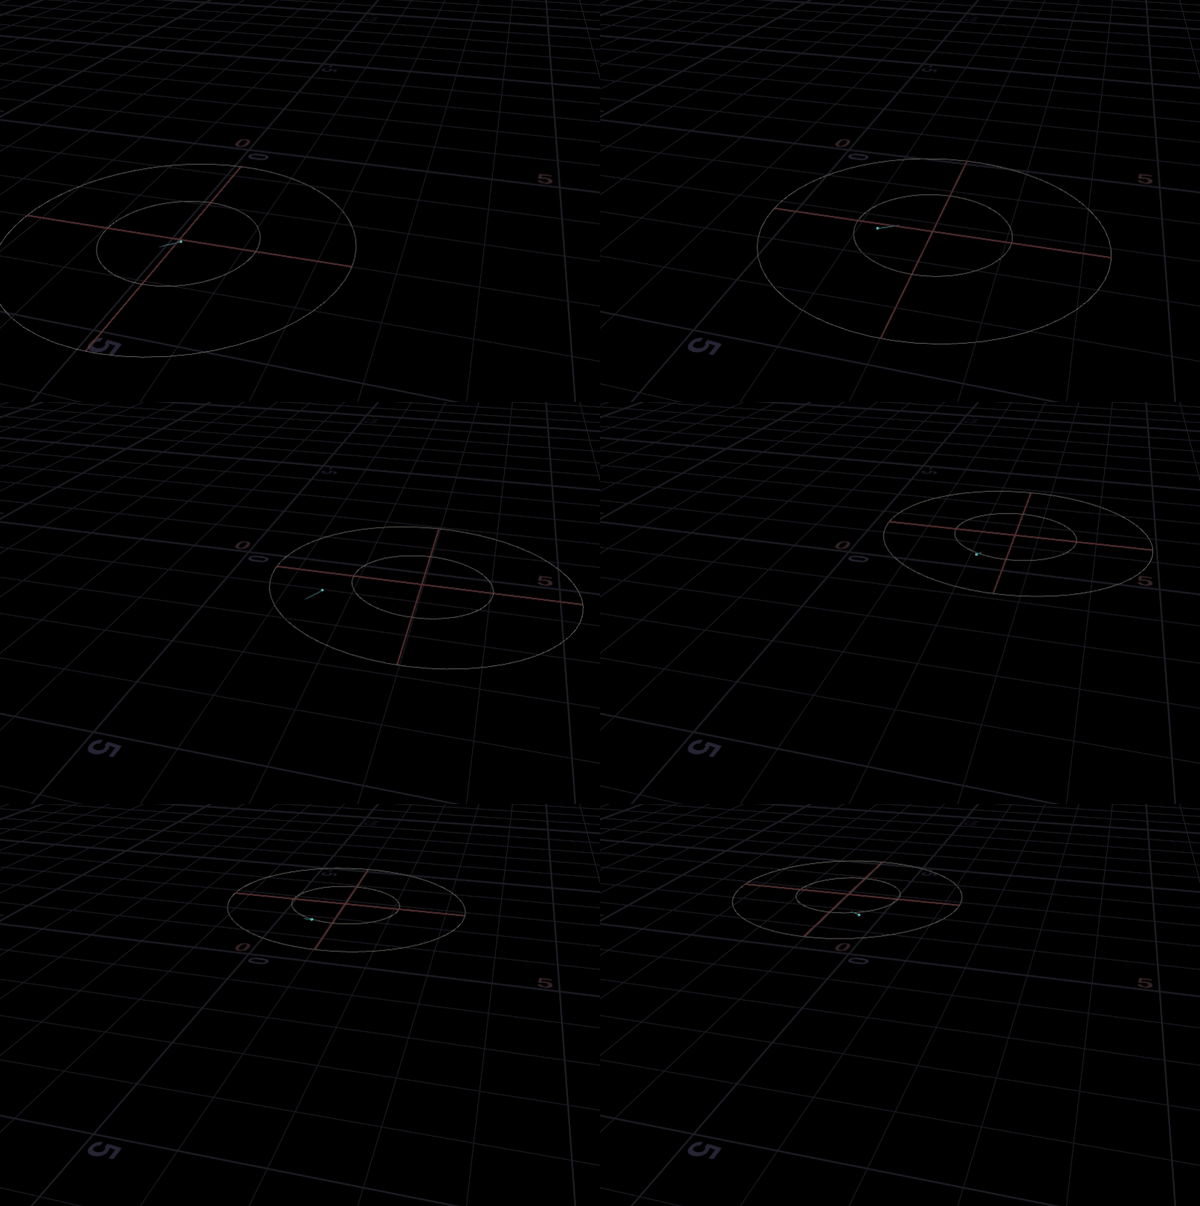
A couple variations. Changing the sizes changes the behavior a bit for sure, but the noise itself does a lot of heavy lifting. However, this is great to make sure that points start in their original space and don’t just shoot off like crazy and stay in a relatively contained space.

A small little UI cause I don’t want to be diving into the solver each time I want to change the radius. I should add some for the noise too but I like how it looks right now.
This was a fun little exercise in vectors. Despite being relatively simple, this will hopefully lead to some amazing advances in my effects. More to come!

